- Published on
SwiftUI Basics
- Authors

- Name
- Wayne Dahlberg
- @waynedahlberg

Apple describes SwiftUI is a modern way to declare user interfaces for any Apple platform. Unlike imperative UI layout tools like Interface Builder and Auto Layout, the declarative nature of SwiftUI Views allows developers to concentrate on composition and state.
This is a another post in a series intended as a personal growth exercise. As I learn and digest new things, I want to write about them to solidify my understanding.
Views
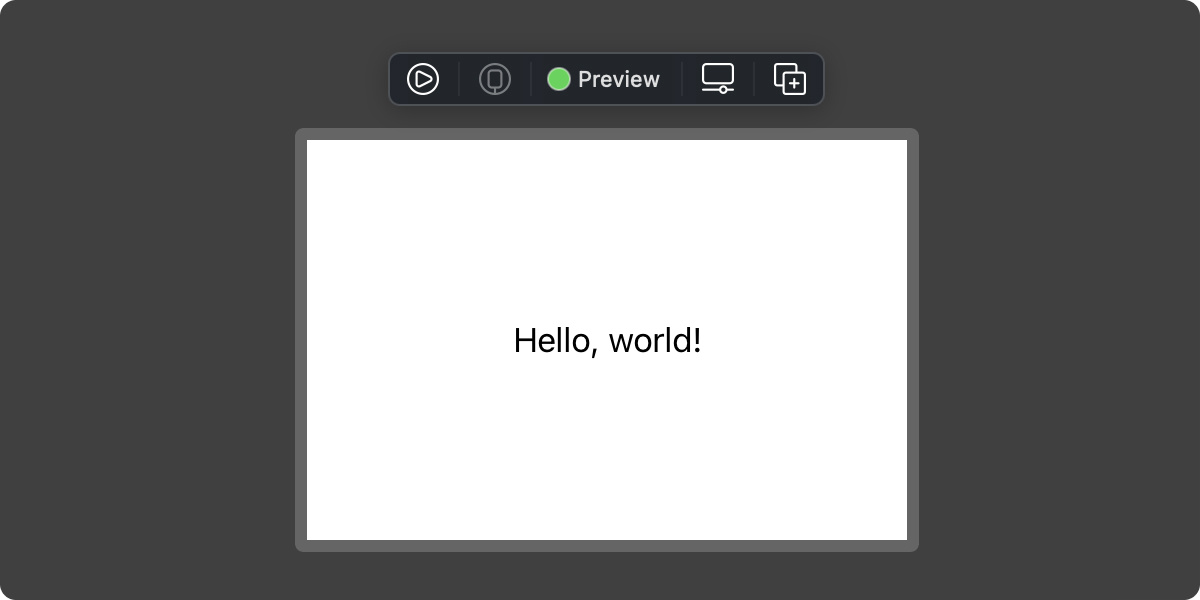
SwiftUI Views are structures that conform to the View protocol, which requires a computed property called body that holds the layout and hierarchy of the view. SwiftUI files can also contain an additional structure that declares the PreviewProvider for that view. The preview is useful for viewing live in Xcode and is ignored at compile time. In this example, the view contains a single Text() view with a .padding() modifer applied.
struct ContentView: View {
    var body: some View {
        Text("Hello, world!")
            .padding()
    }
}

struct ContentView_Previews: PreviewProvider {
    static var previews: some View {
        ContentView()
          .previewLayout(.fixed(width: 300, height: 200))
    }
}
View Modifiers
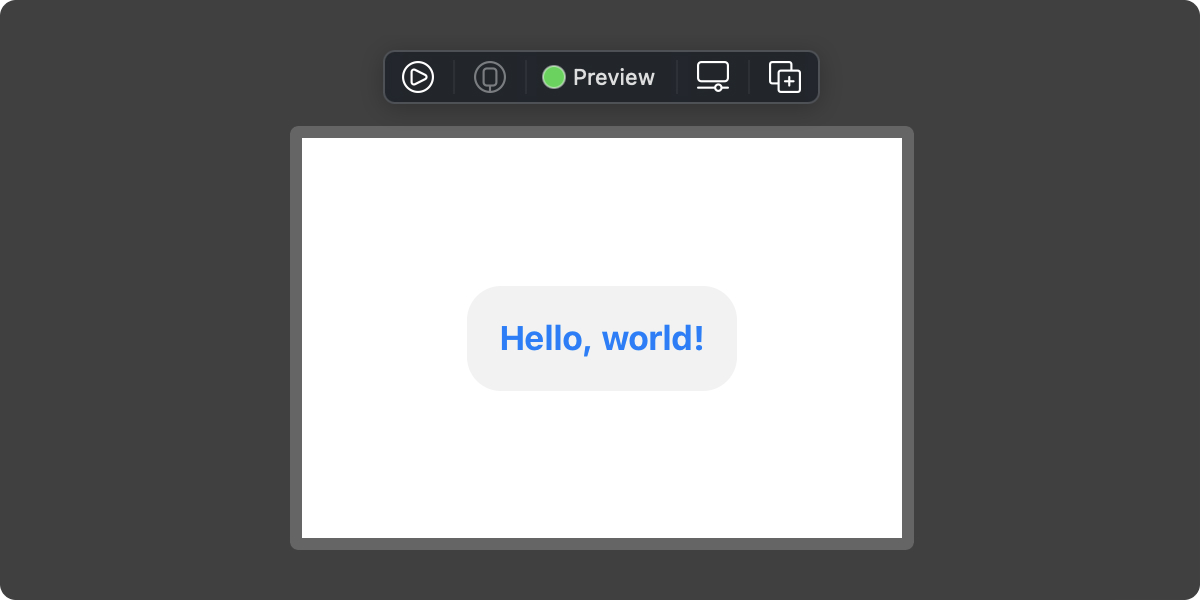
Using view modifiers, you can change the appearance of your views. Changing the text font with .font(), changing the background color with .background() and alter the .padding() and corner radius of the view. These are just a few of the built-in modifiers in SwiftUI.
struct ContentView: View {
    var body: some View {
        Text("Hello, world!")
            .foregroundColor(.blue)
            .fontWeight(.bold)
            .padding()
            .background(Color.black.opacity(0.05))
            .cornerRadius(17)
    }
}
It is possible to create our own view modifiers in SwiftUI using a ViewModifier, but that's a topic for another post.
Lists
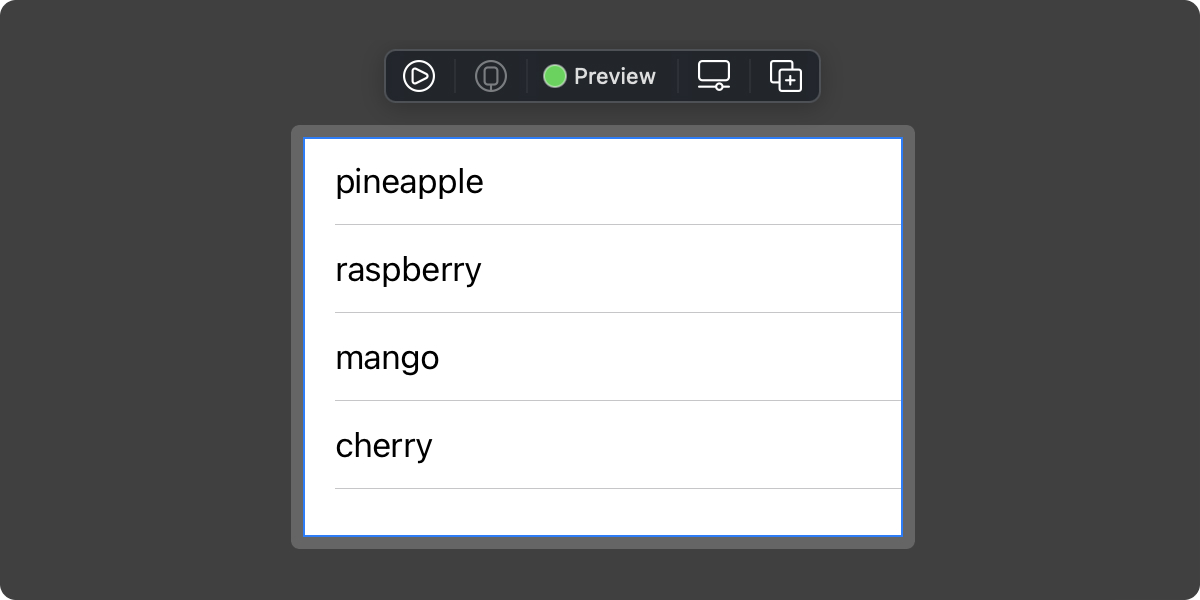
We've seen an example of a text element above, but what about a list of text views? Let's create an array and iterate over it and display the results in a List view.
struct ContentView: View {
    let fruits = ["pineapple", "raspberry", "mango", "cherry"]
    var body: some View {
      List(fruits, id: \.hashValue) { fruit in
        Text(fruit)
      }
    }
}
Navigation
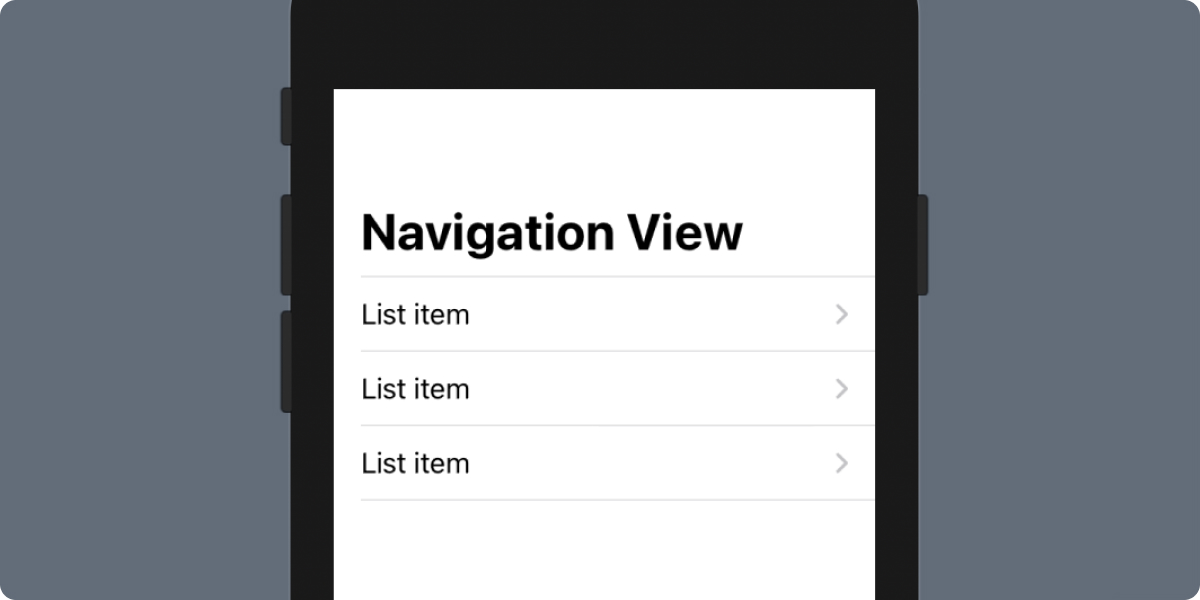
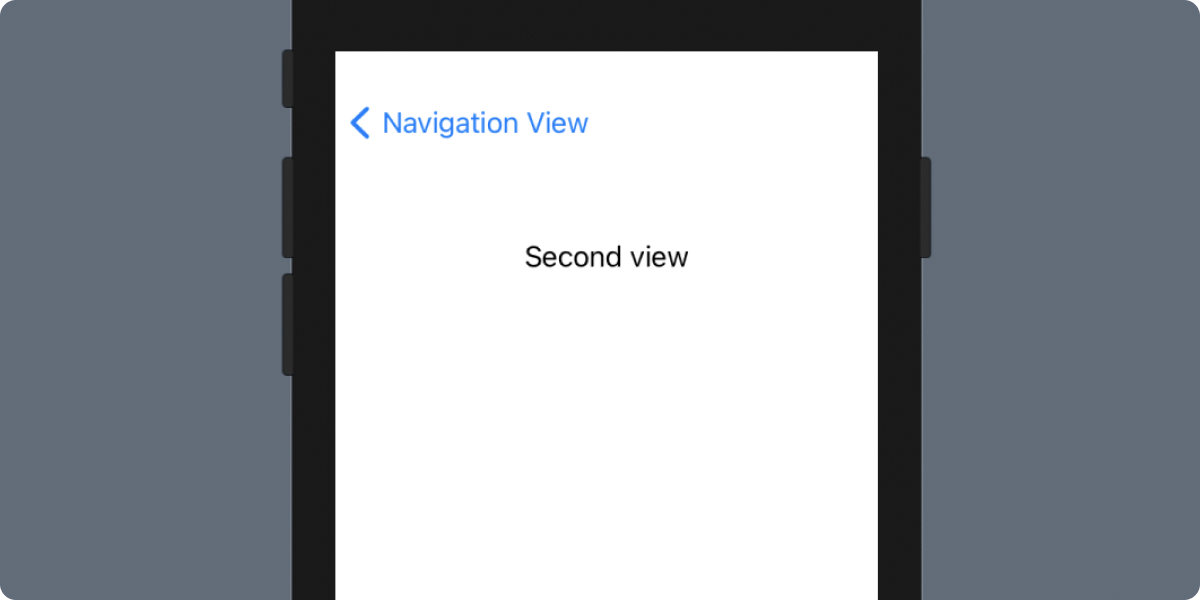
In UIKit, UINavigationController is used to push and pop views off the presentation layer. In SwiftUI, NavigationView handles this functionality with a destination parameter.
struct ContentView: View {
    let fruits = ["One", "Two", "Three"]
    var body: some View {
      NavigationView {
        List(fruits, id: \.hashValue) { fruit in
          NavigationLink(destination:
                          VStack {
                            Text("Second view")
                            Spacer()
                          }) {
            Text("List item")
          }
        }
        .navigationBarTitle("Navigation View")
      }
    }
}
State
One of the big shifts in logic with SwiftUI is how views handle state, or changes to their properties and data. SwiftUI views are a function of state. When a user interacts with a view, state can be changed. When state or data is changed, the entire view hierarchy is re-rendered, reflecting the new state of the application's data.
SwiftUI needs a way to know if a property can be changed, and if so, broadcast those changes up the view chain. This is done with the @State property wrapper.
struct ContentView: View {
  @State private var username: String = ""

  var body: some View {
    VStack {
      Text(username)
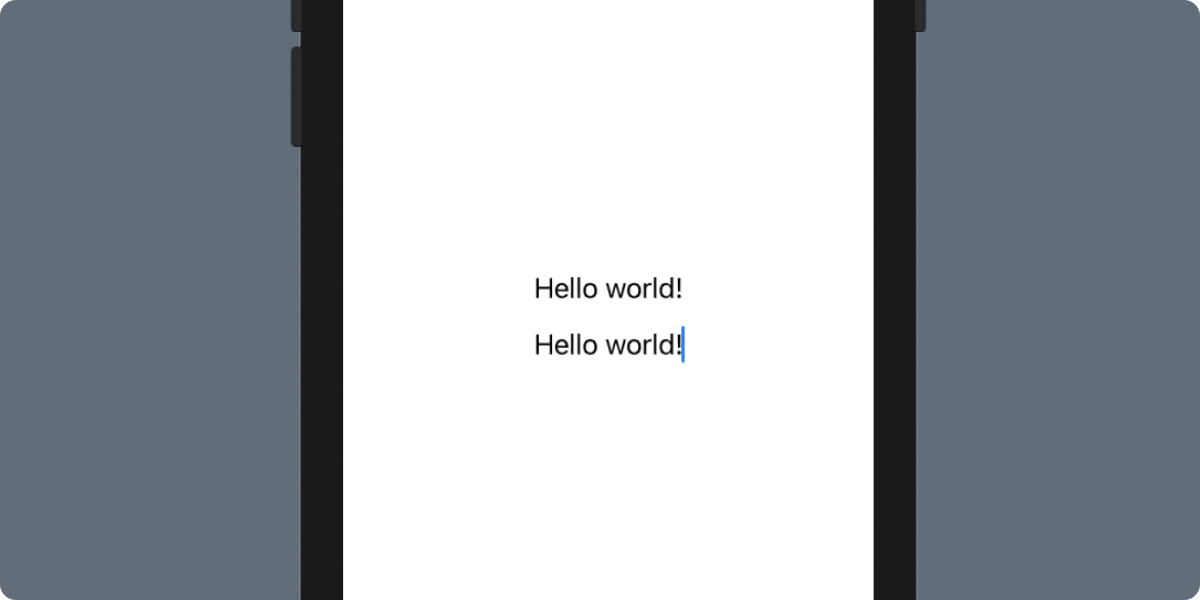
      TextField("username", text: $username).multilineTextAlignment(.center)
    }
  }
}
In the example above, the @State property wrapper will notify the parent view of any changes. To represent the State property within a view's parameters, $ is used as a prefix to the variable name. Whatever the user types into the textfield, the Text element above will display the exact data.

Conclusion
SwiftUI brings with it a world of possiblities for developers of any experience. It's approachable for newcomers, and fairly complex for those looking to dive into this new declarative framework.
This just a light sampling of the first things I learned last year when SwiftUI was announced at WWDC 2019. Many more posts to come on the subject.
Resources
- Apple's official SwiftUI tutorial.
- Hacking With Swift - 100 Days of SwiftUI.